What are cables in knitting
Cables are three-dimensional, raised patterns in knitted fabric created by crossing groups of stitches. They look like twisted ropes or braids — they appear complex, but the principle is simple: you take a group of stitches, move them to a cable needle, knit the next group, then return to the held stitches. This crossing of stitches creates the characteristic cable effect.
Cables are traditionally associated with Irish and Aran knitting. A classic Aran sweater combines dozens of cable patterns on a reverse stockinette background — each pattern has symbolic meaning (fisherman's ropes, pathways, diamonds).
What you'll need
Cable needle — a short U-shaped, curved, or straight needle. Used to temporarily hold stitches. Available in multiple sizes — choose a similar thickness to your main needles. Alternatives include a bobby pin, large safety pin, or short piece of wire.
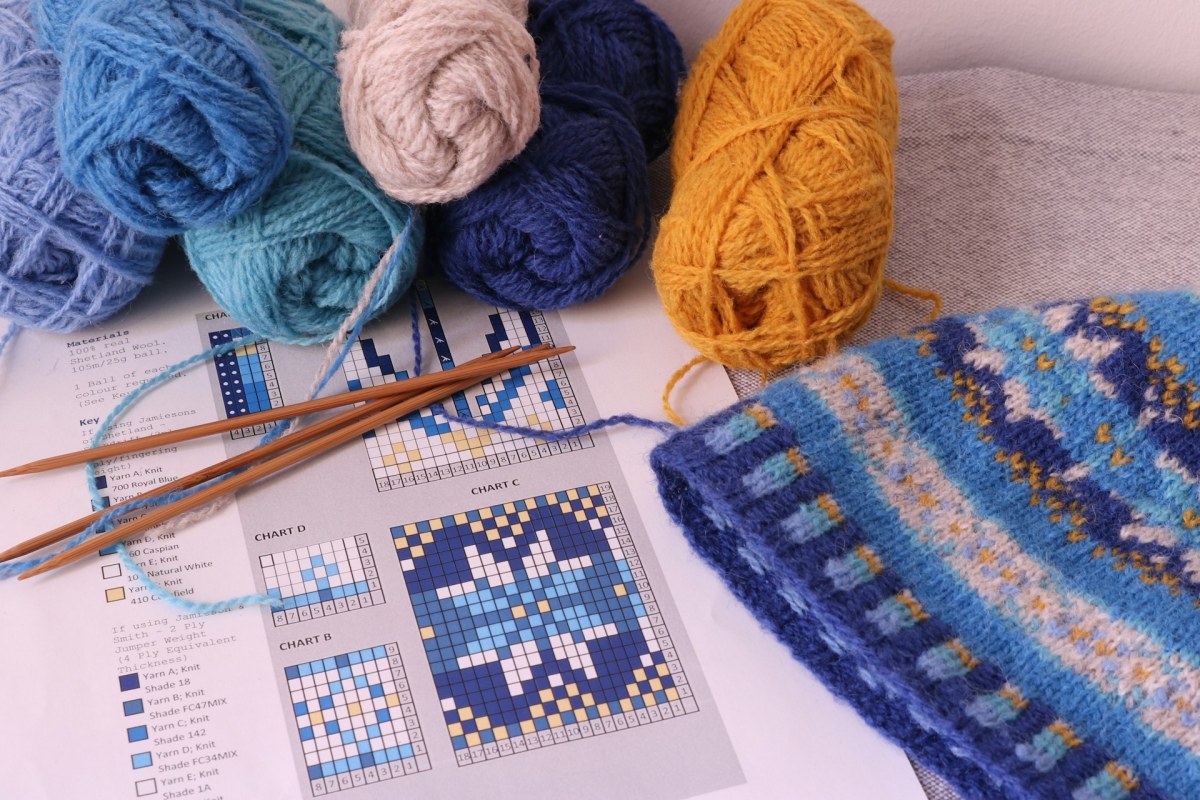
Yarn — cables show best in smooth, light-colored yarn. Wool or wool blends (merino, alpaca) are ideal. Dark and overly fuzzy yarns will "swallow" the pattern.
Basic cable (4 stitches) — technique
Preparation
Cables are worked against a background of purl stitches. Typically: several purl stitches, then a column of knit stitches (future cable), then purl stitches again. The cable is crossed every 4–8 rows.
Crossing row (left-leaning cable — C4F)
Step 1: Slip 2 stitches to cable needle and hold IN FRONT of work.
Step 2: Knit the next 2 stitches from left needle.
Step 3: Knit the 2 stitches from cable needle.
The cable will twist to the left. For a right-leaning cable (C4B), hold the cable needle BEHIND the work.
Rows between crossings
In rows between crossings, work the cable columns straight — knit stitches over knit, purl over purl. Typically crossed every 4, 6, or 8 rows.
Types of cables
Simple cable — one column of stitches crosses (C4F, C4B, C6F, C6B). The number indicates stitch count, the letter indicates direction (F = front/left-leaning, B = back/right-leaning).
Rope cable — a cable that always crosses in the same direction. Creates a spiral/helix.
Honeycomb — two adjacent cables alternately cross left and right. The result resembles a honeycomb.
Wide cable — C8F, C8B or more. Impressive, but uses more yarn and narrows the work significantly.
Why cables narrow the work
Crossing stitches pulls the work together — the cable "consumes" width. With one cable the narrowing is small, but in an Aran sweater with dozens of cables, the width can be 15–20% less than stockinette stitch with the same number of stitches. Therefore, it's important to knit a gauge swatch and measure tension including cables, not just in stockinette stitch.
Cables without a cable needle
Experienced knitters often work cables without a cable needle — slip stitches off the needle, let them "hang," then pick them up in new order. It's faster but requires confidence and practice. For beginners, use a cable needle — stitches are held securely and you can't lose them.
Tips for beginners
Start with a simple C4F or C4B cable on a small swatch (scarf or headband). The purl background should have at least 3–4 purl stitches on each side of the cable for it to stand out. Count rows between crossings — if you forget when to cross, the cable will be uneven. A row counter or paper with tick marks helps.