What is the purl stitch
The purl stitch (abbreviated as p) is the second basic stitch in hand knitting alongside the knit stitch. While the knit stitch creates smooth "V"s on the side facing you, the purl stitch creates horizontal "bumps." On the wrong side of stockinette fabric, you see rows of these bumps.
The purl stitch is actually a knit stitch worked "backwards" — a mirror image. Every knit stitch is a purl on the other side and vice versa. Understanding this is key to reading patterns and designing your own projects.
How to knit the purl stitch — step by step
Step 1: Yarn to front
Move the yarn to the front of your work (toward you), between the needles. For knit stitches the yarn is in back — for purl stitches it must be in front.
Step 2: Insert needle
Insert the right needle into the first stitch on the left needle from right to left (from back to front). The needle points from you toward you — the opposite of a knit stitch.
Step 3: Wrap the yarn
Wrap the yarn around the right needle counterclockwise (like with knit stitches, but the yarn goes over the needle from the front).
Step 4: Pull through
Pull the new loop through the stitch to the back and slide the old stitch off the left needle. The purl stitch is complete.
Where purl stitches create patterns
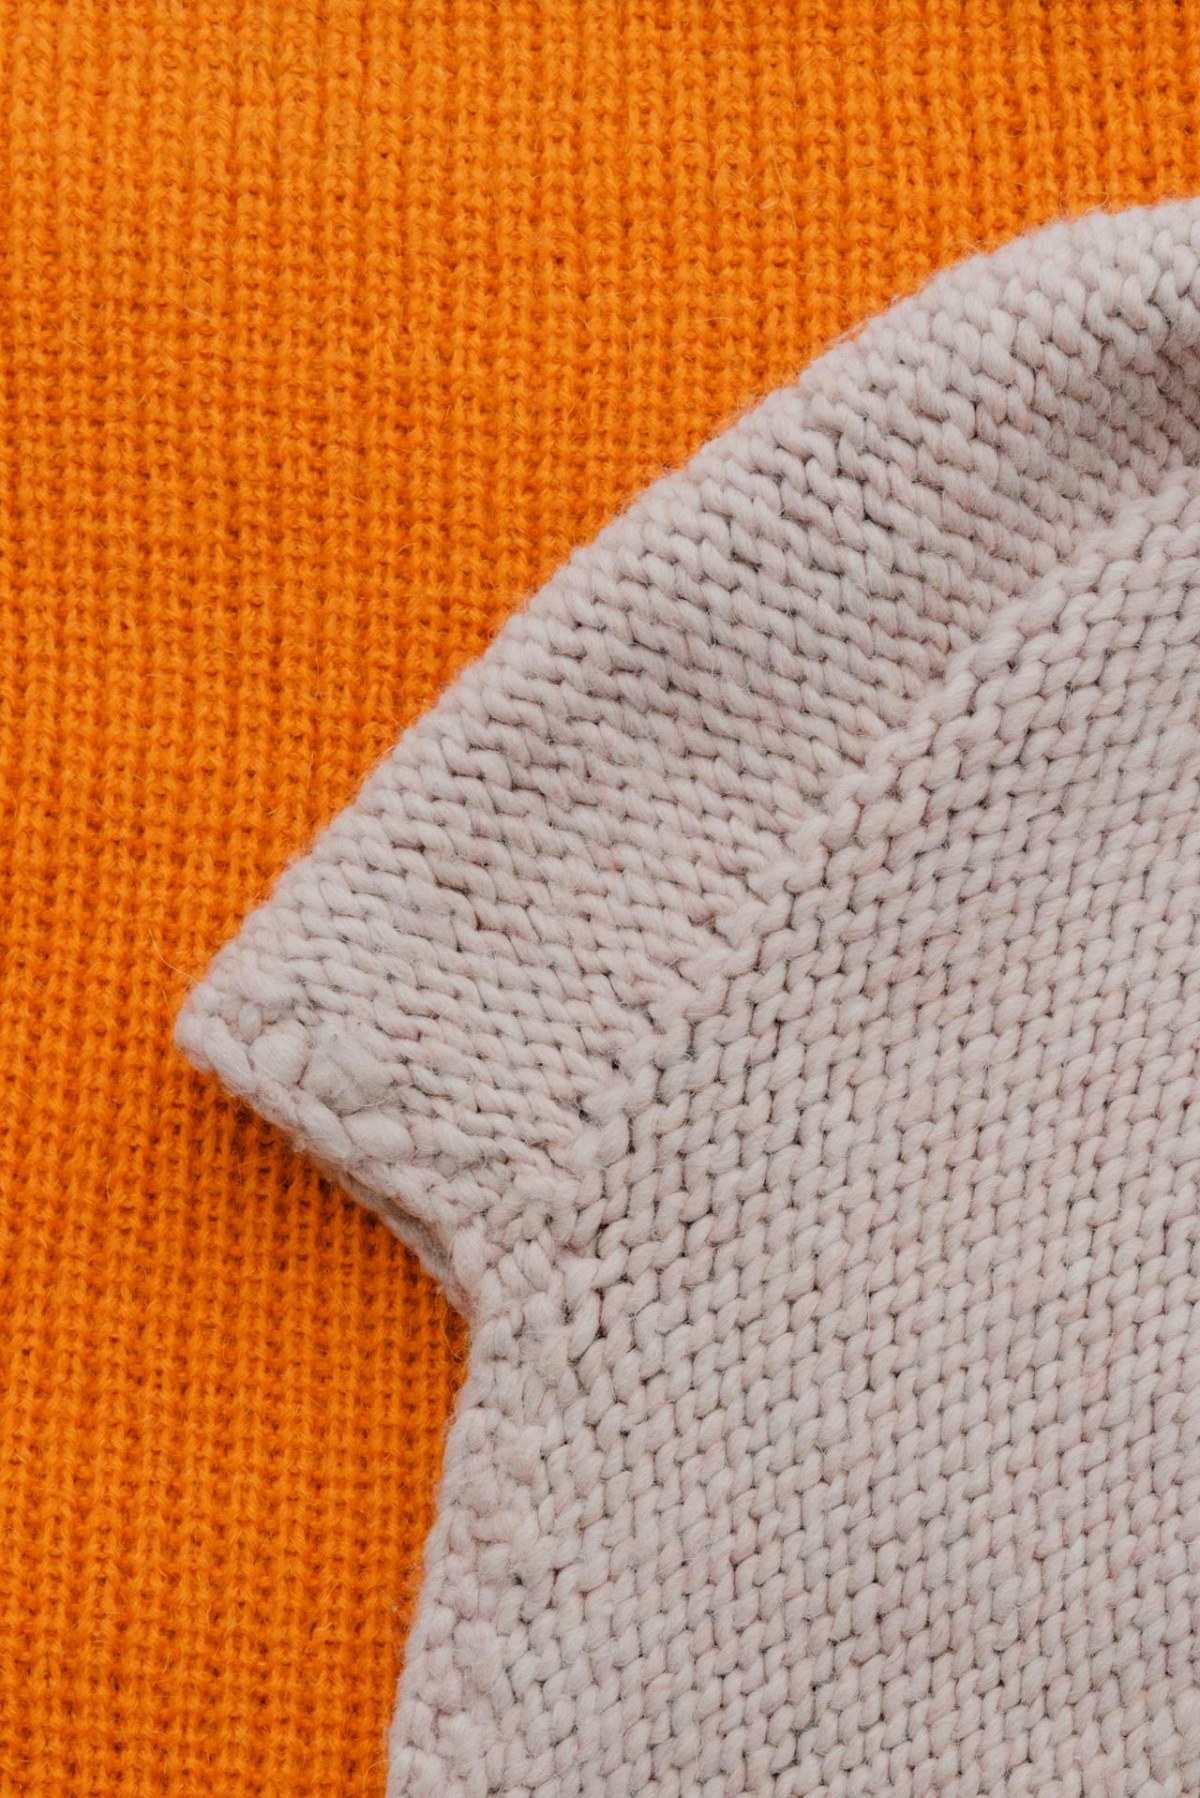
Stockinette stitch — row of knits, row of purls. The most basic combination.
Rib stitch — alternating knit and purl stitches in a row (1×1, 2×2). Creates a stretchy, elastic pattern for hems, cuffs, and cowls.
Seed/moss stitch — alternating K/P with offset in each row. Grainy texture.
Cables — purl stitches form the background, knit stitches form the sculptural cables. The contrast between smooth columns and grainy background is what gives cables their definition.
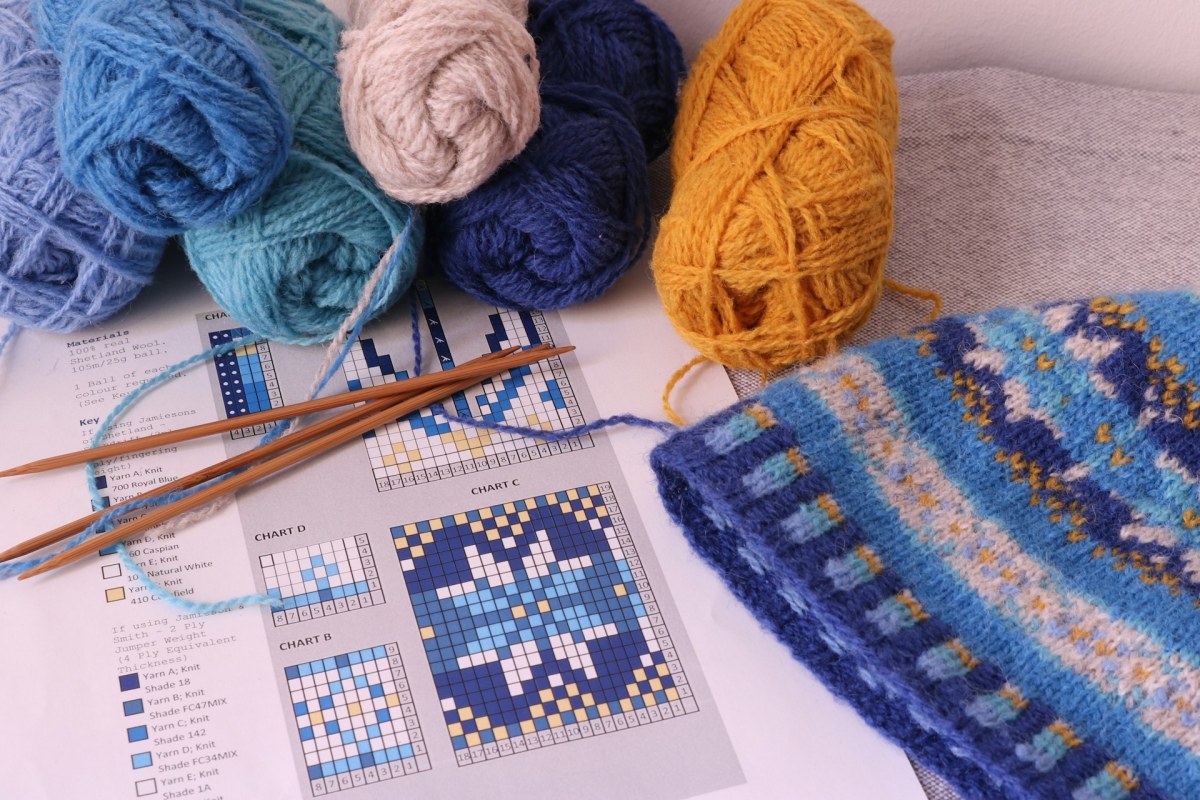
Textured patterns — any pattern where knit and purl stitches are combined into geometric shapes (diamonds, triangles, hearts) on a smooth background.
Common mistakes
Forgetting to move the yarn — if you leave the yarn in back and work a purl stitch, you create an accidental yarn over — a hole appears in your work. Always check yarn position before starting a stitch.
Twisted stitches — if you insert the needle into the stitch the wrong way, the stitch becomes twisted. Twisted stitches look like crossed "X"s instead of open "V"s. Solution: always insert needle into purl stitches from right to left.
Uneven rows — purl stitches tend to be looser than knit stitches (rowing out). If this happens to you, try using needles half a size smaller for purl rows.
Why purl stitches take longer
Many knitters say that purl rows slow them down. This is because the purl motion is less natural — the yarn must move back and forth, the needle goes in the opposite direction. With practice, speed evens out. Some knitters use alternative knitting styles — combination knitting or Portuguese knitting eliminate the speed difference between knit and purl stitches.
Comparison of knit and purl stitches
| Feature | Knit stitch | Purl stitch |
|---|---|---|
| Yarn | In back | In front |
| Needle | Left to right | Right to left |
| Appearance on right side | Smooth "V" | Bump (wave) |
| Speed | Faster | Slower (initially) |